Roll Your Way to a Beautiful Garden
A Step-by-Step Guide to Building Your Own DIY Planter Box with Hidden Wheels
Summer is just around the corner, and there's no better time
than now to start preparing your garden for the season. Whether you're a
seasoned gardener or a beginner, a planter box is a great addition to any
backyard or patio. In this tutorial, we'll show you how to build a simple yet
durable planter box with hidden wheels, perfect for growing vegetables and
herbs. We've chosen to use cedar wood for this project, as it is naturally
rot-resistant and safe for planting food. However, if you don't have access to
cedar, redwood is a great alternative.

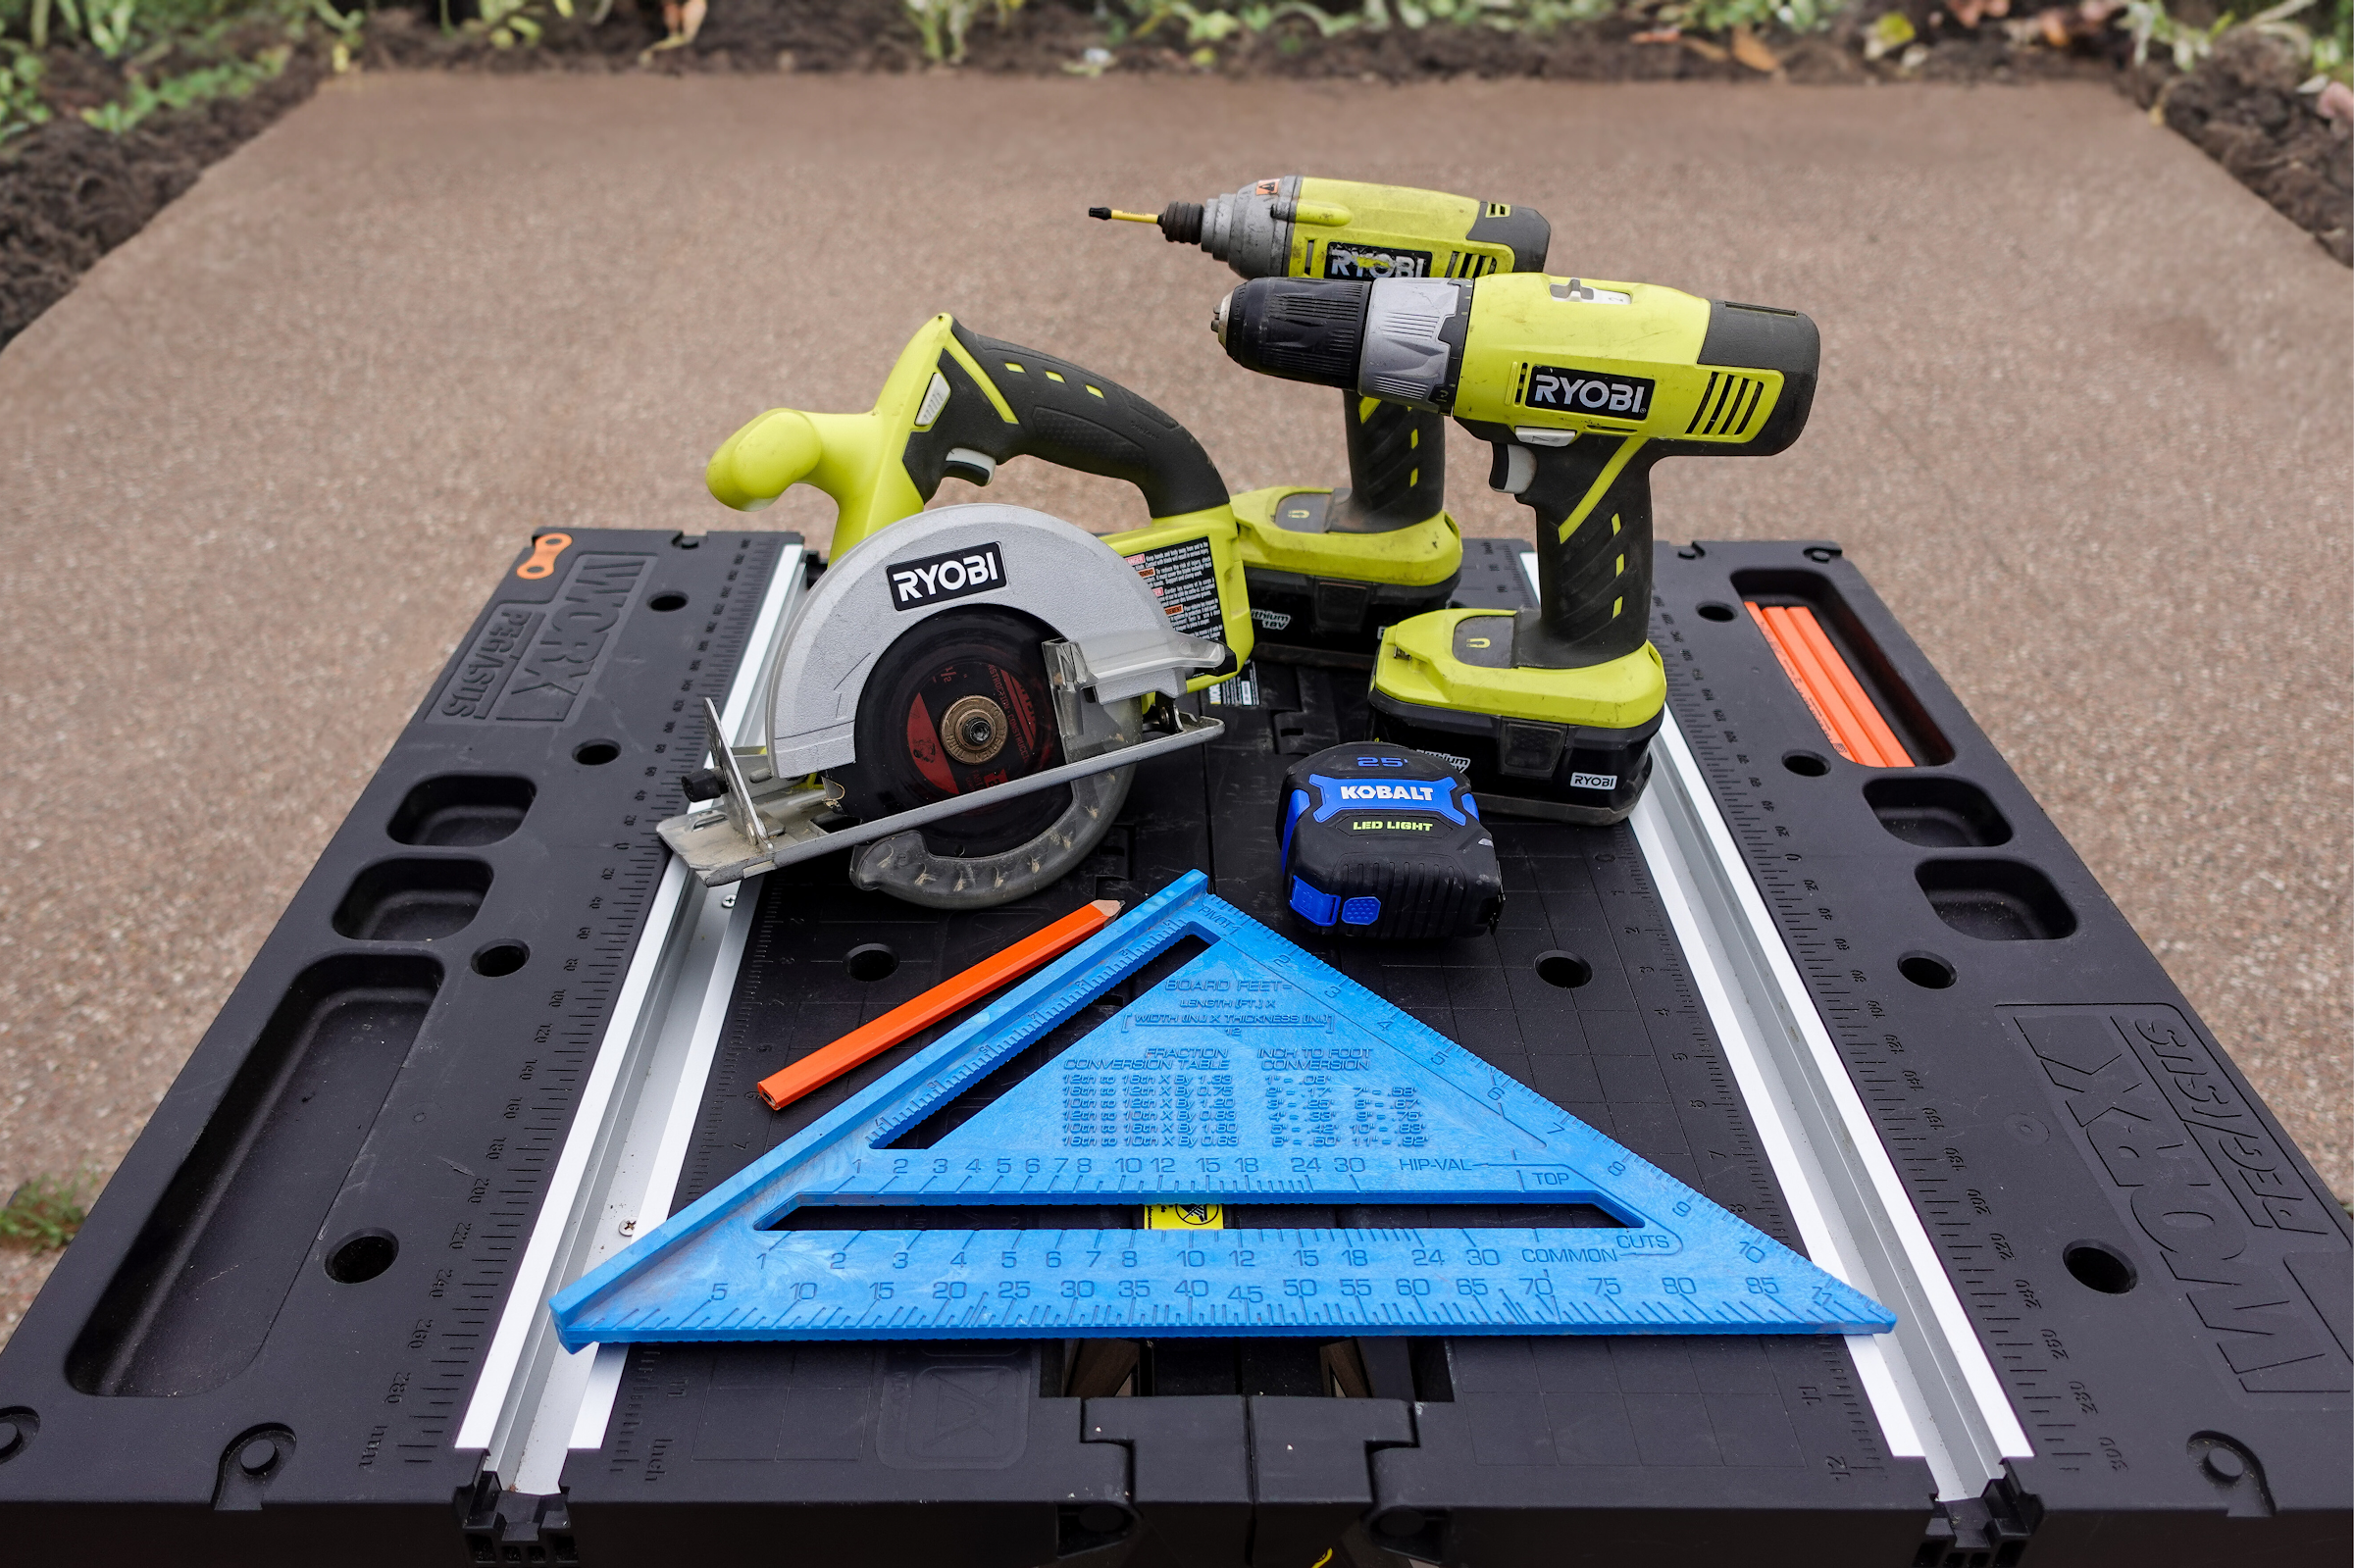
Step 1: Cut and Assemble the Balusters
To begin building our planter box, we first cut the 2 in. x
2 in. balusters into two 48” pieces and four 21” pieces using a saw. We then
assembled them using 2” exterior decking screws, creating a rectangular frame
for the planter. The remaining baluster was used to space out the two-by-fours
in the next step. By using sturdy balusters and screws, our planter box is not
only durable but also able to support the weight of the soil and plants. With
the frame in place, we can now move on to the next step of building the base
for our planter box.

Step 2: Build the Base
Once the frame was assembled, we moved on to building the
base of our planter box. Using a saw, we cut the cedar two-by-fours and spaced
them out using 2 in. x 2 in. wood balusters, which we had left over from the
previous step. We then secured the two-by-fours to the balusters using 1 ½”
exterior decking screws, creating a sturdy base for our planter box. By using
cedar wood for the two-by-fours, our planter box base is not only resistant to
rot but also safe for planting food. With the base in place, we can now move on
to the next step of building the walls for our planter box.


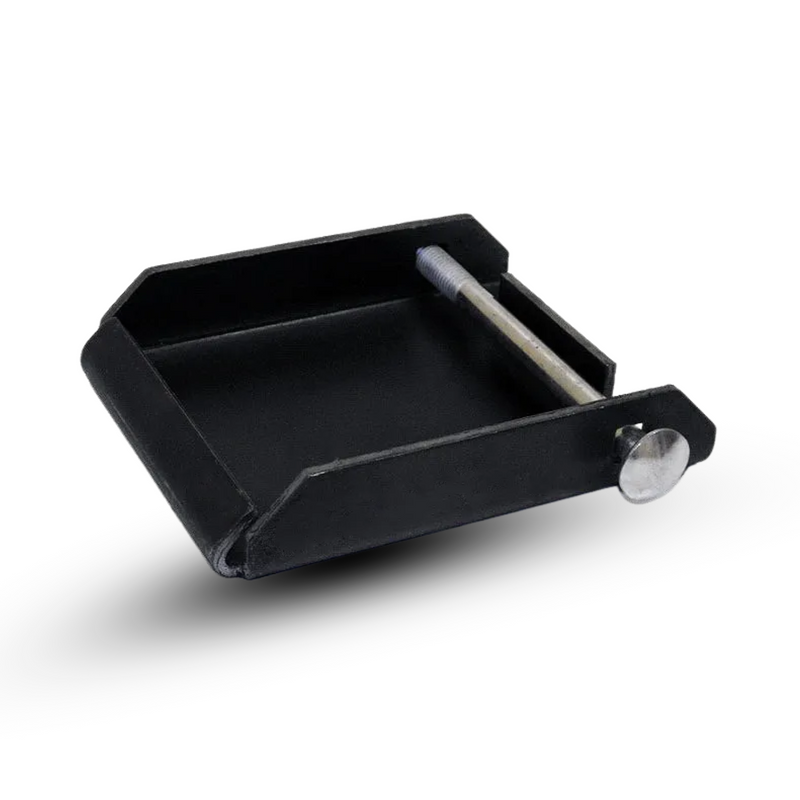
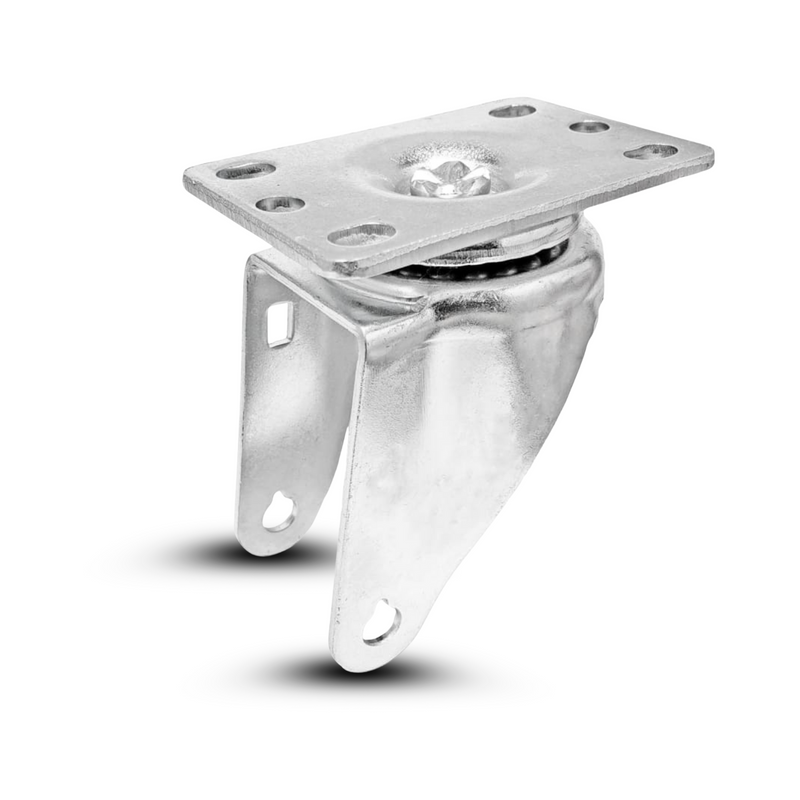
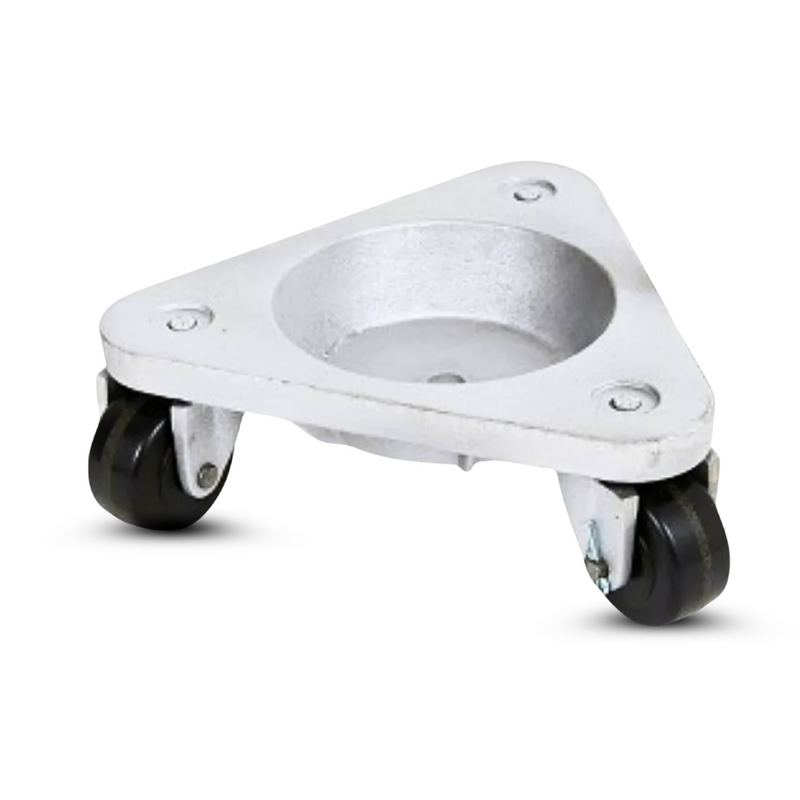
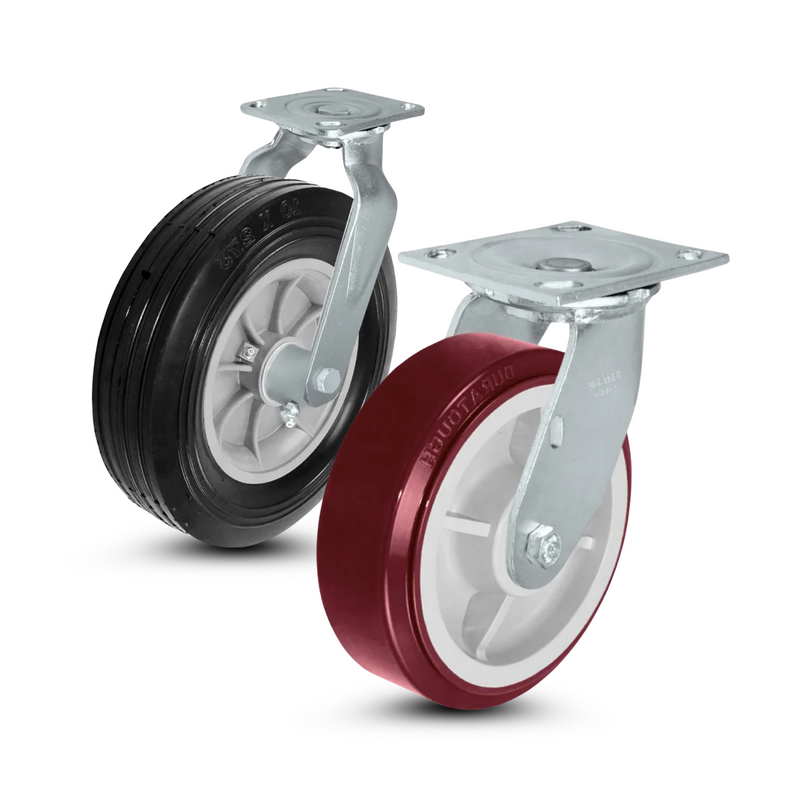
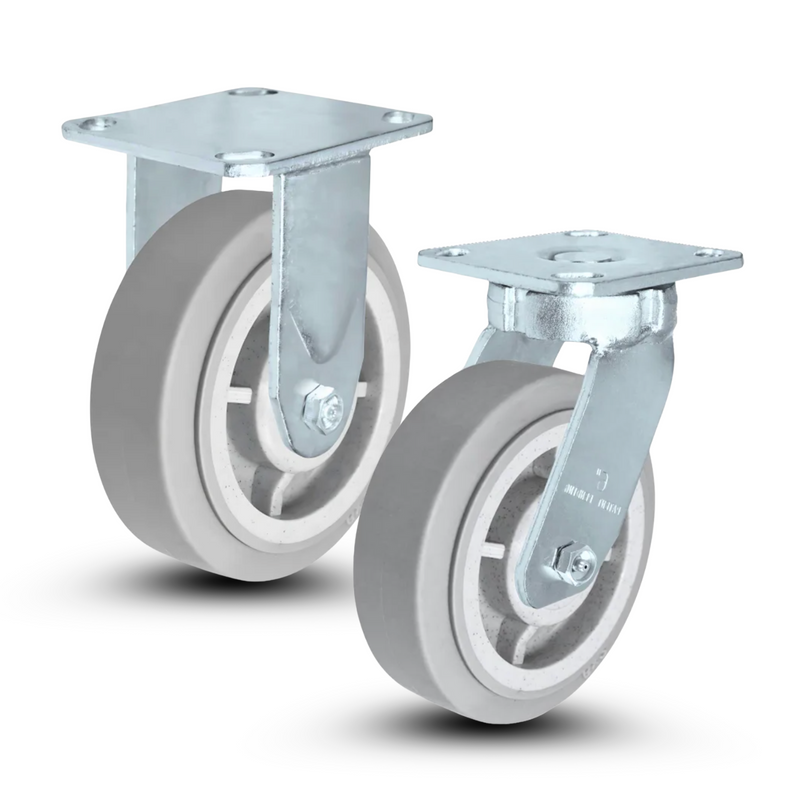
Step 3: Add Swiveling Casters to the Base
Before we begin building the walls of the planter box, we
decided to add some 3" swiveling casters to the base. We wanted to be able
to move our garden around easily, as we were uncertain about its long-term
placement. The wheels not only make our planter box resourceful but also add a
practical element to its design.
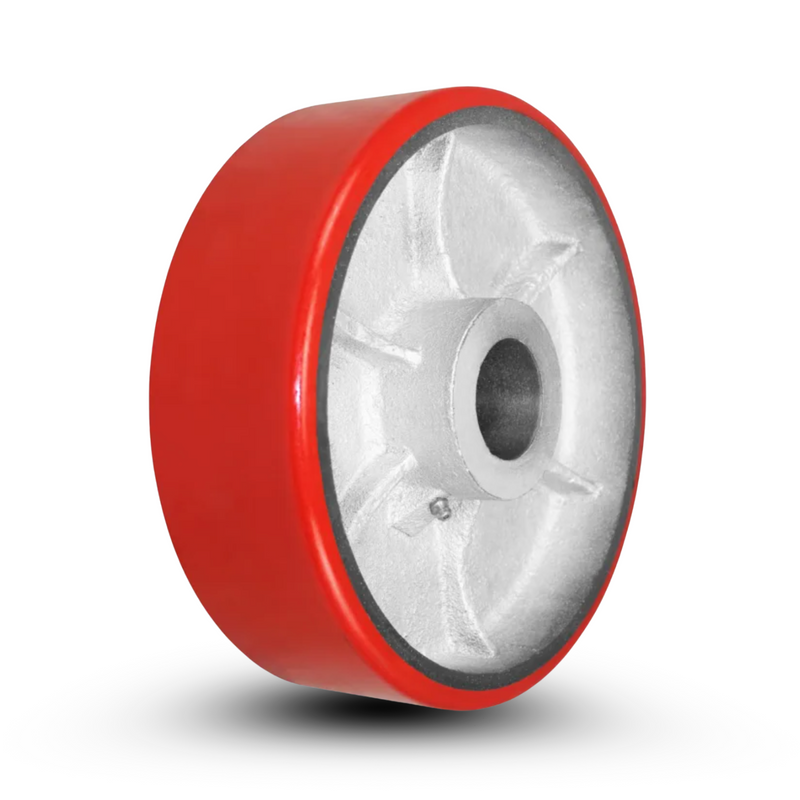
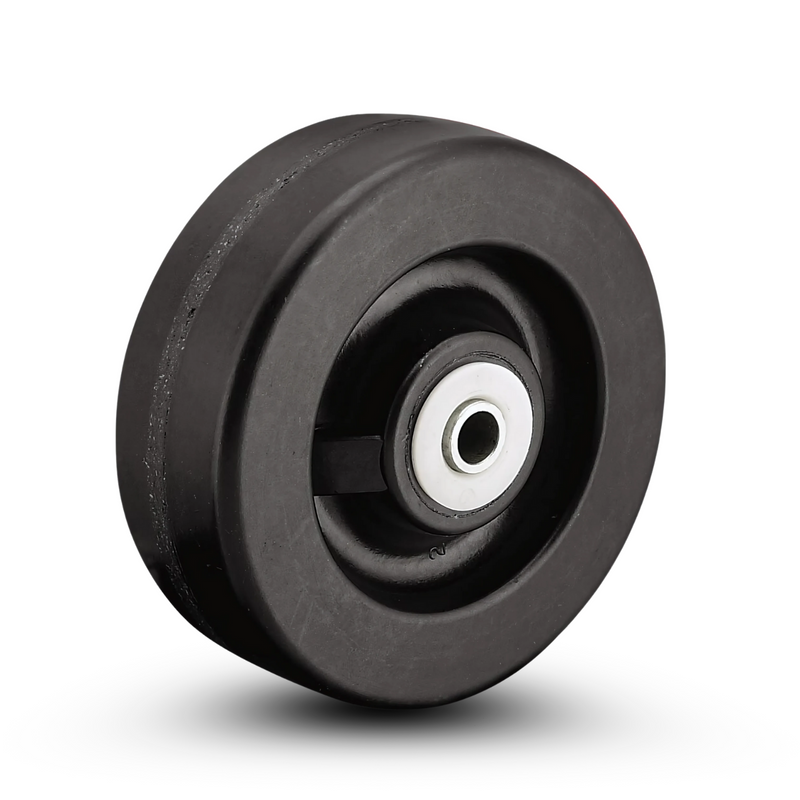
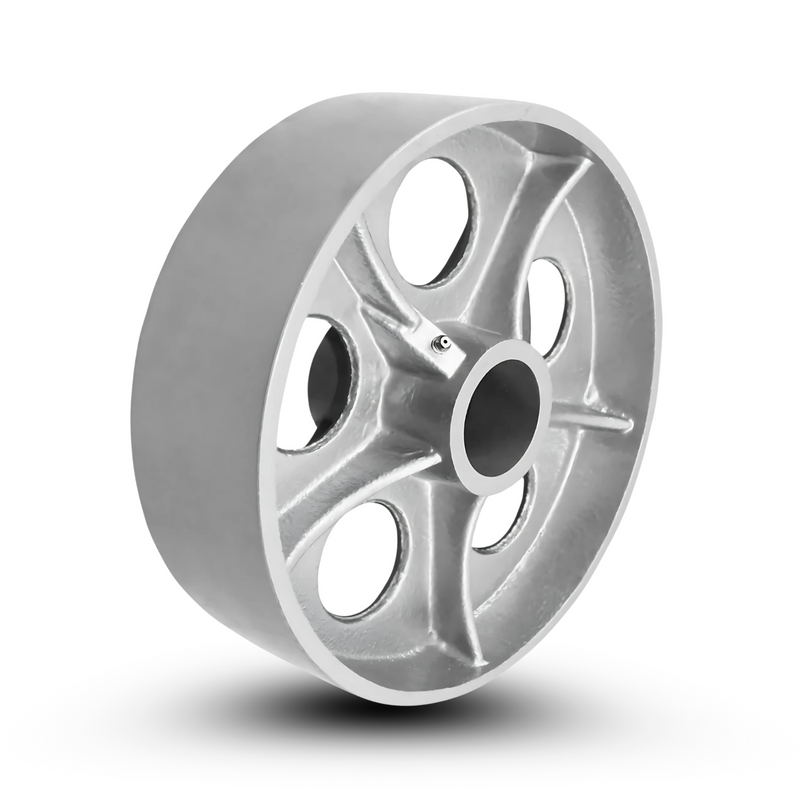
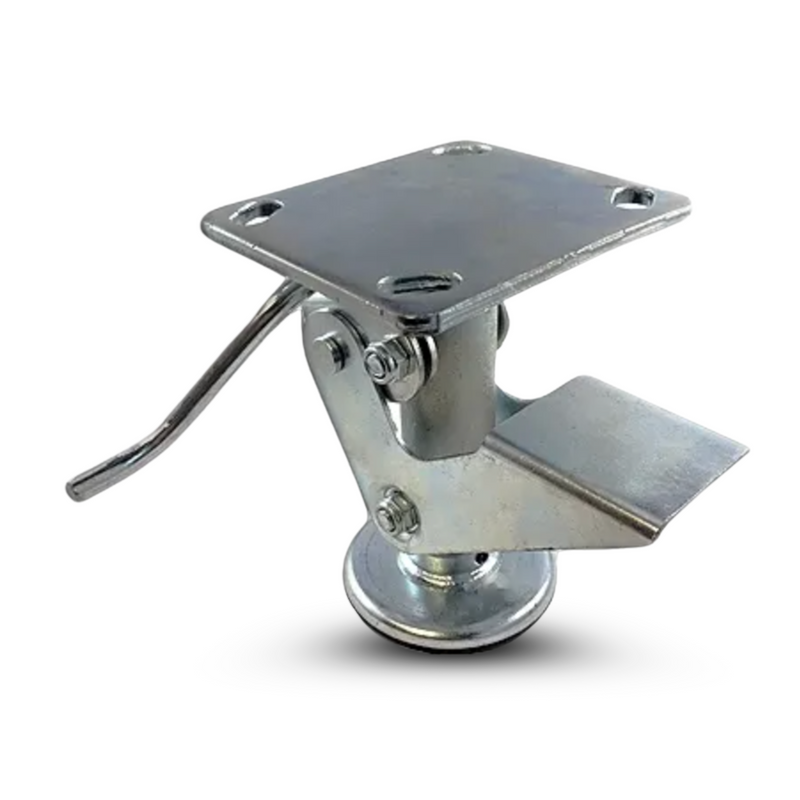
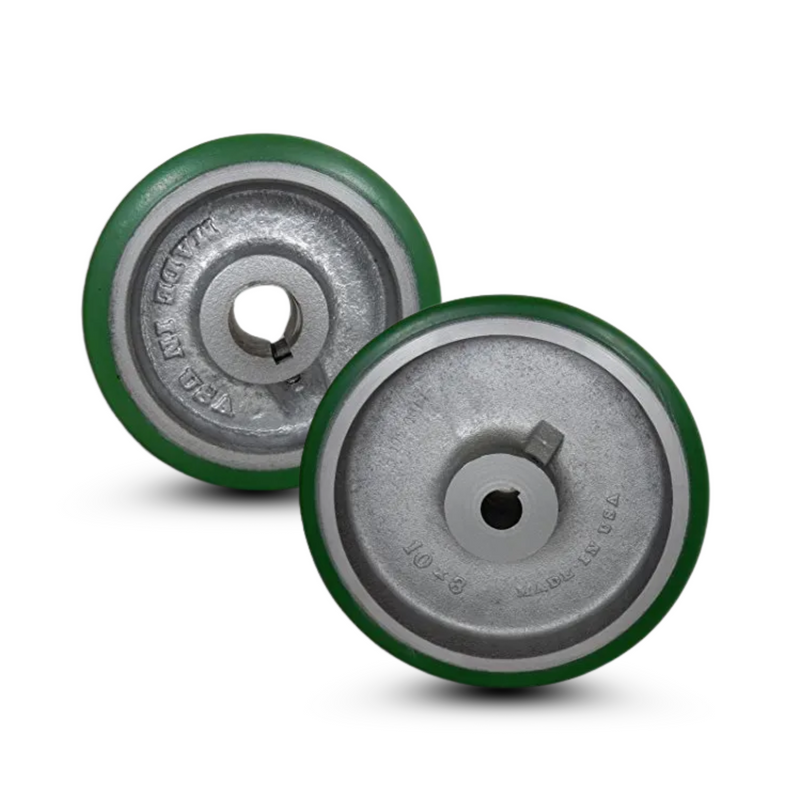
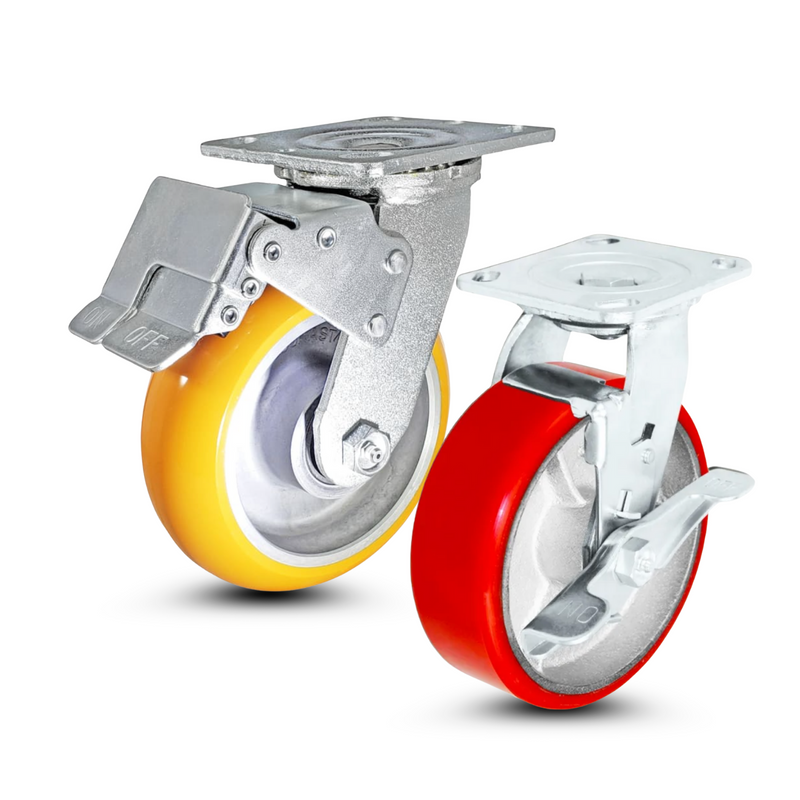
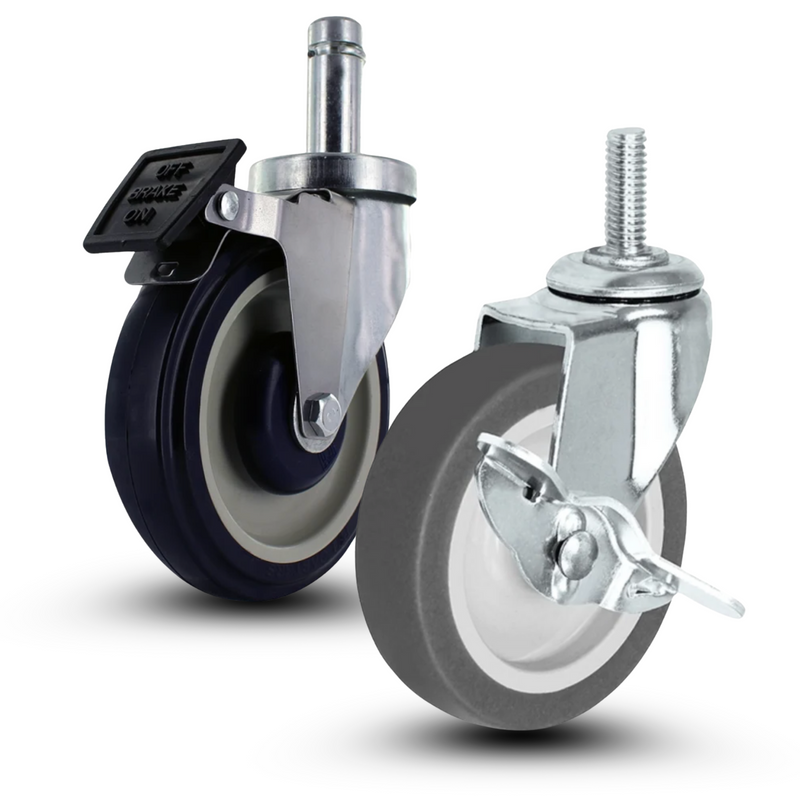
When selecting the right caster for your outdoor garden
planter, it's important to consider the type of environment it will be used in.
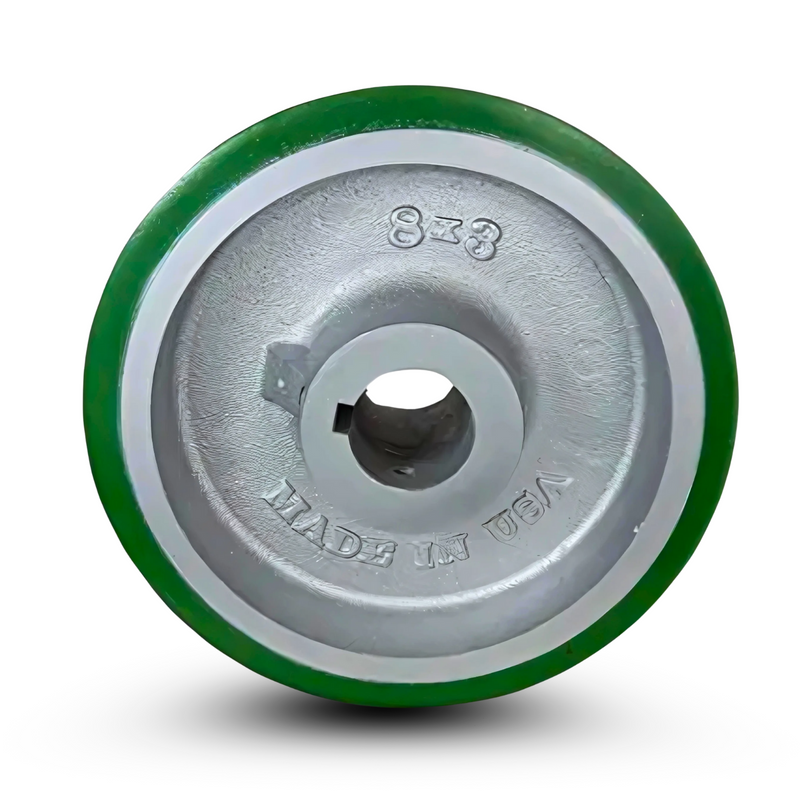
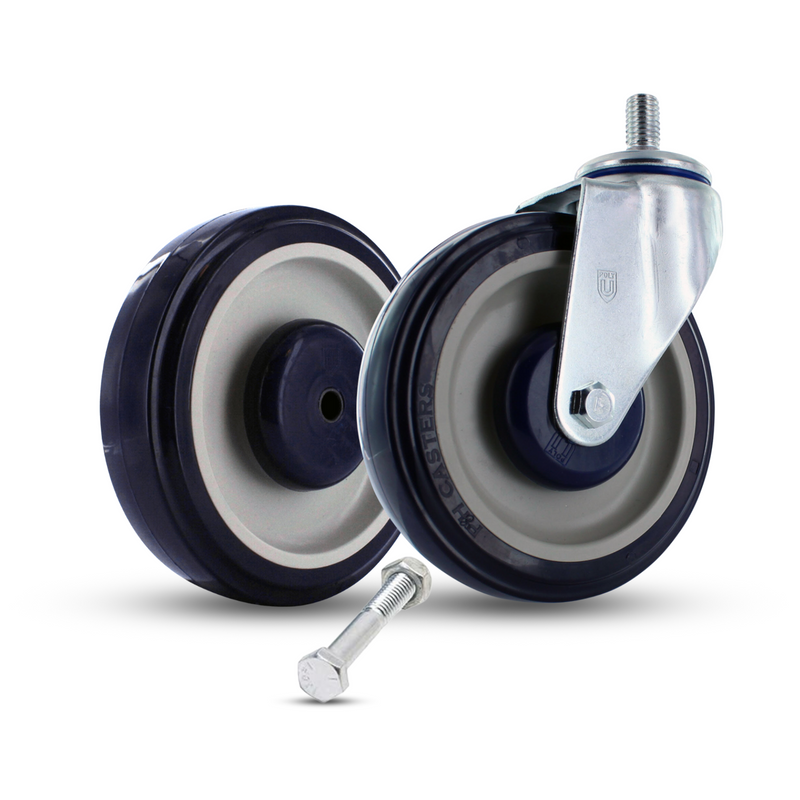
That's why we chose CasterHQ's 3"
Swivel Caster with Blue Solid Polyurethane Wheels.
These wheels are molded and machined for high performance
and longevity, making them an excellent choice for outdoor applications. The
solid polyurethane wheel's one-piece design ensures that there is no tread
separation, which is important when navigating over uneven terrain. The wheel's
one-piece mold design also eliminates bonding failure, providing high impact
and abrasion resistance. Additionally, these wheels are resistant to harsh
chemicals, including acids, cleaning chemicals, bleach, and water. This makes
them a great choice for environments where they may come into contact with
fertilizers, pesticides, or other garden chemicals.
Overall, if you're looking for a caster that can withstand
tough environments, CasterHQ's 3"
Swivel Caster with Blue Solid Polyurethane Wheels is an excellent choice for your DIY garden planter.
To attach the casters to the base, we used 1 ½"
exterior decking screws and drilled them through the pre-drilled holes in the
caster plate. With the casters now securely in place, we can move our planter
box around with ease. What makes this planter box design stand out is that the
wheels are cleverly hidden, giving it a sleek and stationary look. Once
completed, the planter box will measure four feet wide, two feet deep, and
approximately two feet tall.
With the base and casters complete, we can now move on to
the next step of building the walls for our planter box.

Step 4: Add Picket Fencing to the Sides
Now that the base is finished, it's time to add the picket
fencing to the sides of the planter box. To start, cut eight fence pickets into
48" pieces and use the remaining eight 24" pieces for the shorter
sides. The lower board should be positioned about ¾" off the ground to
partially conceal the wheels while allowing enough space to move the planter
around on uneven surfaces. We secured each picket on the sides with 1½"
deck screws, using a carpenter's pencil as a spacer to ensure a ¼" gap
between each picket. Continue this process until you have four rows installed
around the entire planter box.

Step 5: Attach Wire Mesh for Soil Support and Critter
Protection
We added wire mesh to the base of the planter box for extra
support and protection from critters. We used a staple gun to attach the wire
mesh securely to the base. The mesh helps prevent soil erosion and keeps out
unwanted visitors like rodents or other small animals. This step is crucial for
creating a stable and long-lasting garden planter that can withstand the
elements and the environment it is placed in.

Step 6: Add Decorative Fence Pickets to the Corners
To give our planter box a more polished look, we decided to
add decorative fence pickets to the corners. For this step, you'll need 8 fence
pickets cut at 22-¾” in length. We simply placed two pickets together and
screwed them in a 90-degree angle using deck screws. After that, we secured
each corner piece to the box using 1 ½” deck screws. This added detail not only
enhances the aesthetic appeal of our planter box but also makes it more
structurally sound. With this step complete, our DIY planter box is starting to
take shape and look like a professional garden addition.

Step 7: Add Weed Fabric and Drainage Holes to the Planter
Box
In order to add an extra layer of protection to the inside
of the garden planter, we added a layer of weed fabric to the bottom of the
box. This fabric allows water to pass through, but prevents soil and other
debris from seeping through. To ensure proper drainage, we also cut a few holes
in the bottom of the box. While plastic can also be used as a barrier, we opted
for weed fabric as the cedar wood used in this planter box is naturally
rot-resistant.

Step 8: Add a Mitered Frame to the Planter Box
To complete the planter box, we recommend adding a mitered
frame around the perimeter. This step not only adds a nice finishing touch but
also creates a practical work surface. Cut your fence pickets into two pieces
measuring 30-¼” and two pieces measuring 54-¼” to create a 2 ½” lip around the
outside of the box. Secure the frame using 1 ½” exterior deck screws. With this
final step, your planter box will not only look professional, but it will also
be a functional addition to your garden or patio space.

Step 9: Applying Eco-Friendly Stain and Wood Sealer to the Planter Box
We decided to increase the longevity of our planter box by
using an eco-friendly, non-toxic stain on the exterior of the box. Keep in mind
that staining your raised planters won't provide long-term protection. However,
it can enhance the natural beauty of the wood by adding a rich color and
enhancing the visual interest of the wood grain. To ensure maximum protection,
it's best to follow the stain with a natural wood sealer product. This will
help to seal in the stain and protect the wood from the elements.

Congratulations, your DIY planter box is now complete and
ready to be filled with your favorite vegetables. This sturdy and mobile
planter box is perfect for any backyard or patio. Don't forget that it's
important to move your planter box around occasionally to ensure even sunlight
exposure for your plants. We hope you enjoyed following along with our step-by-step
tutorial. If you want to see the project in action, head on over to our
Facebook and Instagram, and check back soon for the full detailed tutorial that
will be available on our YouTube channel.

Happy gardening wherever you choose to roll!